
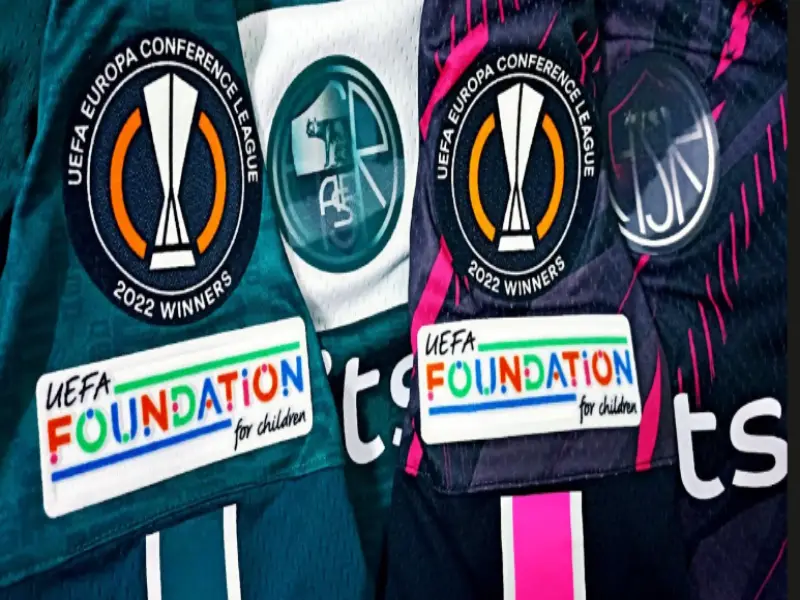
How to Safely Fix Soccer Patches on Sport Jerseys
Not sure where to sew a soccer patch onto a jersey? Find out how to determine the correct location, prepare the material, securely attach the patch, and make sure that the end result looks professional without altering the jersey.
Customize Sports Jersey With Attractive Soccer Patches
Soccer jerseys represent group spirit, league affiliation, and love for the sport. A valid tournament patch, crest, or custom patch transforms a regular athletic outfit into an authentic soccer jersey worn during a game.
But the process of adding such visual details to light, moisture-wicking synthetic materials takes careful preparation and exacting work.
Hasty patch application may result in a poorly aligned design, burnt polyester threads, or even the patch falling off while playing the game.
The correct process of fabric preparation, heat application, and, optionally, edge stitching will help you get a professional-looking result easily. Here is how to apply patches to your jerseys properly.
Wash And Pre-Press The Jersey To Create A Clean Surface
Creating a lasting bond between a patch and a soccer shirt starts well before heat and stitching are applied. Most new athletic shirts have manufacturing chemicals such as starch or fabric softener applied to protect them from the heat. Washing the jersey with mild water helps to remove all the hidden barriers that might prevent the adhesive from sticking to the fabric.
After allowing it to dry, press the intended place using a hot iron to flatten the fabric and eliminate any atmospheric moisture. Having a smooth surface free of moisture will ensure that there is no bubble formation and the adhesive is easily fused onto the fabric.
Position And Secure The Patch Accurately On The Fabric
The correct placement of a patch is necessary to make the jersey look professional, balanced, and genuine. For chest crests, position the patch directly beneath the collar line, halfway between the center line and arm hole on the left side of the chest.
For sleeve patches, correctly measure and place it in the center of the outer arm piece, just two to three inches away from the shoulder seam. Using an ordinary measuring tape will help to check the correctness of the alignment of the patch on both sides before the heat application.
To prevent any displacement of the patch during the ironing, secure it in its place using heat-resistant painter’s tape. This will ensure that the patch remains in place for a long time.
Cover The Patch With A Protective Cloth Barrier
Modern soccer jerseys feature lightweight polyester blends made especially for wicking heat and sweat away from the body. However, using a hot iron directly against the fabric leads to melting of these artificial fibers or formation of permanent shiny marks on the front side of the jersey.
To protect the design of the patch and the fabric of the jersey itself, place a piece of paper towel, parchment paper, or even an old towel between the iron and the patch on the jersey.
In addition to protecting the fabric from damage, the protective layer also avoids damaging the delicate embroidery on the patch.
Apply Firm Heat To Fuse The Adhesive
Getting the right temperature and pressure of the iron affects how well the patch is bonded to the jersey material. The dry iron needs to be set at a high-medium heat range, but it should not have any steam settings, as moisture affects the bond of the heat seal glue.
Apply downward pressure over the cloth protector for about 20 to 30 seconds without moving the iron. Moving the iron away from the patch area will make the patch move away, while using static pressure will melt the adhesive deep within the fabric.
Custom patches Texas have high-quality heat-seal backings which melt evenly when compressed. High-quality materials ensure effective adhesion that can withstand any rigorous physical activity as well as the washing process.
Iron From The Inside Out To Strengthen The Bond
To provide optimal structure strength in the long term, heat needs to be applied to the jersey material from both sides of the applied area. After applying the heat from the front side, the jersey should be turned inside out carefully, without moving the newly installed patch.
Heat should be applied directly onto the fabric back of the patch area for another 15-20 seconds. The second heating stage is aimed at pushing the melted glue deep into the inner structure of the jersey, thus strengthening the first bond from the other side.
A patch with a double-sided adhesive creates an anchor that will not allow the outer border to peel away over time. This important process helps keep the patch flat on the jersey even with hard tackles on the field.
Allow The Adhesive To Cool And Harden Completely
The most frequent errors made while applying patches to clothing items in DIY projects include handling, folding, and wearing the jersey when the material is still warm. Molten glue used on the back of the patch needs adequate time to solidify and cure into a strong structure.
Leave the shirt flat on a cool surface for a minimum of 20 minutes. Avoid bending or patting the patched area, as it will cause the adhesive compound to be disrupted and create weak spots in the area.
Inspect The Edges And Confirm High-Quality Sourcing
Once the item has cooled entirely, run your finger around the border of the patch to make sure each corner has adhered securely. If any corner is not attached properly, cover it with the protective paper once more and press that area again for 10 more seconds.
The durability of the patch depends on the quality of its production. Good patches are carefully stitched around their edges, threads are bright and won’t fade, and the back is solid and holds up to outdoor and weather conditions.
Buying from a reliable custom patch factory in Fort Worth ensures you get quality patches made from superior materials. Quality patches stay intact with their color and fine details despite being exposed to water, dirt, and washing.
Add Perimeter Hand Stitching For Extra Field Security
Although the heat-activated backing gives nice results, additional perimeter stitching will assure competitive sportsmen complete confidence. Glue used in such materials may sometimes deteriorate after years of playing matches; that’s why mechanical sewing will definitely be a good backup.
Using a small-sized needle and polyester thread, sew a tiny running stitch or zig-zag along the perimeter of the patch. It will attach the patch to the threads of the material without damaging the flexibility of the jersey.
It is necessary to reinforce the edges to ensure that the patch won’t catch on other jerseys or tear off while playing high-impact games.
Wash And Care For Your Customized Jersey Properly
Customized sportswear has to be washed using delicate procedures to ensure that the fabric and crests remain unharmed. The jerseys should always be turned inside out before putting them through a wash cycle, as this protects the crest surface from friction against other clothes.
Always use cold water to wash patched clothes. Avoid using hot water as it will soften the glue, resulting in loss of structural strength. Do not use bleach, strong detergents, or fabric conditioners as these will spoil the customized shirt. Hang them out to dry on racks or plastic hangers; avoid using machine dryers, as excessive heat from dryers damages the patches.
Partner With Experts For Large Team Orders
Outfitting a full squad demands a uniform quality of patches, the same dimensions, and a professional manufacturing standard for every shirt. Handling large orders of customized patches at home can prove to be a challenging process, which calls for professional help to provide custom soccer patches for sports teams and leagues.
Partnering with a reliable soccer patch maker helps achieve a perfect color match, accurate logo duplication, and the best heat-seal backing for every member of the team. Professional assistance makes it easy to manufacture the patches and prevent any errors.
Investing in premium custom patches enhances the appearance of the entire squad. Good quality uniforms create squad unity and boost player confidence during tournaments.
Key Details You Need About Applying Soccer Patches
What iron temperature is recommended for putting patches on polyester soccer jerseys?
The iron should be set to dry, medium-high heat (between 280°F and 300°F or wool/silk setting). Do not use steam since water prevents heat seal adhesive from adhering properly to artificial fabric.
Can I attach patches to soccer jerseys without heat?
You can attach patches to jerseys by sewing them on with a regular needle and thread or a sewing machine. It is best to stitch or sew a patch by hand or machine for vintage jerseys or patches without heat seal.
How can I prevent my soccer jersey from burning while attaching patches?
Always put a layer of protection between an iron and a jersey. Use parchment paper, Teflon, or a piece of thin cotton fabric. Never apply an iron plate directly to synthetic polyester.
How much time should you wait before laundering a freshly patched soccer jersey?
At least 48 to 72 hours before you wash your newly customized jersey. This will provide maximum curing time for the heat-activated adhesive so that it sets firmly on fabric fibers.
Why do the corners of a patch peel off?
This happens due to inadequate initial pressure, the wrong temperature of the iron, or washing the shirt in hot water. Sewing some invisible stitches around the edges prevents peeling.
Conclusion
Adding custom crests and league patches to the football jersey is a very satisfying task that makes a plain sporting garment into a professional one.
With proper fabric preparation, the use of press barriers for protection, application of appropriate heat and pressure on both sides of the patches, and sufficient cooling time, anyone can get professional-quality patches and crests.
By following these step-by-step procedures, you will ensure that your custom-made jerseys look neat, feel comfortable, and are able to withstand the tough conditions of the beautiful game.